GitLab Community Edition 버전을 RedHat OS 에 설치해 보자.
GitLab 을 추천하는 이유는
- Community Edition 이 제공되며
- Git를 이용한 소스버전관리가 가능하고
- Wiki/이슈관리/프로젝트관리등 제공되는 기능이 많다.
- 최근에는 CI/CD 기능까지 지원
정리하자면 GitLab 데브옵스 솔루션하나면 웬만한(?!) 프로젝트를 수행할 수 있는 것 같다.
0. 설치환경
- RedHat 7.4
- Git 2.22.0
1. GitLab 사이트에서 설치가이드를 확인해 보자.

2. 방화벽 해제
내부업무용으로 사용하려면 방화벽을 전부해제. 외부에서도 사용하려면 http/https 를 오픈하자.
// 내부업무용 - 방화벽 전체 오픈
[root@server ~]# sudo systemctl stop firewalld
[root@server ~]# sudo systemctl disable firewalld

// 외부업무용 - http/https 오픈
[root@server ~]# sudo firewall-cmd --permanent --add-service=http
[root@server ~]# sudo firewall-cmd --permanent --add-service=https
[root@server ~]# sudo systemctl reload firewalld
3. 필수패키지 설치
openssh-server, openssh-clients, curl 은 기본으로 대부분 설치되어 있기때문에 git, bash-completion, policycoreutils-python, perl 을 설치하자.
// curl, sshd 가 설치되어 있다면
[root@server ~]# sudo yum install -y git policycoreutils-python perl

// curl, sshd 도 없다면
[root@server ~]# sudo yum install -y curl git policycoreutils-python openssh-server openssh-clients perl
[root@server ~]# sudo systemctl enable sshd
[root@server ~]# sudo systemctl start sshd
메일서버 프로그램인 Postfix 설치
[root@server ~]# sudo yum install postfix
[root@server ~]# sudo systemctl enable postfix
[root@server ~]# sudo systemctl start postfix
4. GitLap 설치
GitLap 설치가 가능한 상태인지 확인스크립트를 실행
curl -sS https://packages.gitlab.com/install/repositories/gitlab/gitlab-ce/script.rpm.sh | sudo bash
[root@server ~]# curl -sS https://packages.gitlab.com/install/repositories/gitlab/gitlab-ce/script.rpm.sh | sudo bash
Checking for curl...
Detected curl...
Downloading repository file: https://packages.gitlab.com/install/repositories/gitlab/gitlab-ce/config_file.repo?os=rhel&dist=7&source=script
done.
Installing pygpgme to verify GPG signatures...
Loaded plugins: product-id, search-disabled-repos, subscription-manager
This system is not registered with an entitlement server. You can use subscription-manager to register.
gitlab_gitlab-ce-source/signature                                                                               |  862 B  00:00:00
Retrieving key from https://packages.gitlab.com/gitlab/gitlab-ce/gpgkey
Importing GPG key _______:
 Userid     : "GitLab B.V. (package repository signing key) <packages@gitlab.com>"
 Fingerprint:
 From       : https://packages.gitlab.com/gitlab/gitlab-ce/gpgkey
Retrieving key from https://packages.gitlab.com/gitlab/gitlab-ce/gpgkey/gitlab-gitlab-ce-3D645A26AB9FBD22.pub.gpg
gitlab_gitlab-ce-source/signature                                                                               |  951 B  00:00:00 !!!
.
. 생략
.


The repository is setup! You can now install packages.
[root@server ~]#
"The repository is setup! You can now install packages." 문구가 나오면 GitLap 설치가 가능한 환경이 구성된 것이다.
접속할 URL을 지정하고 GitLab-CE를 설치하자.
sudo EXTERNAL_URL="http://192.168.3.38:8088" yum install -y gitlab-ce
해당글에서는 내부에서만 사용하는 용도이기 때문에 http://192.168.3.38:8088 으로 URL을 설정하여 설치할 것이다.
[root@server ~]# sudo EXTERNAL_URL="http://192.168.3.38:8088" yum install -y gitlab-ce
Loaded plugins: product-id, search-disabled-repos, subscription-manager
This system is not registered with an entitlement server. You can use subscription-manager to register.
gitlab_gitlab-ce/x86_64/signature                                                                               |  862 B  00:00:00
gitlab_gitlab-ce/x86_64/signature                                                                               | 1.0 kB  00:00:00 !!!
gitlab_gitlab-ce-source/signature                                                                               |  862 B  00:00:00
gitlab_gitlab-ce-source/signature                                                                               |  951 B  00:00:00 !!!
http://yum.mariadb.org/10.3.14/centos7-amd64/repodata/repomd.xml: [Errno 14] HTTP Error 404 - Not Found
Trying other mirror.
To address this issue please refer to the below knowledge base article
.
. 생략
.
Installed:
  gitlab-ce.x86_64 0:13.11.1-ce.0.el7

Complete!
[root@server ~]#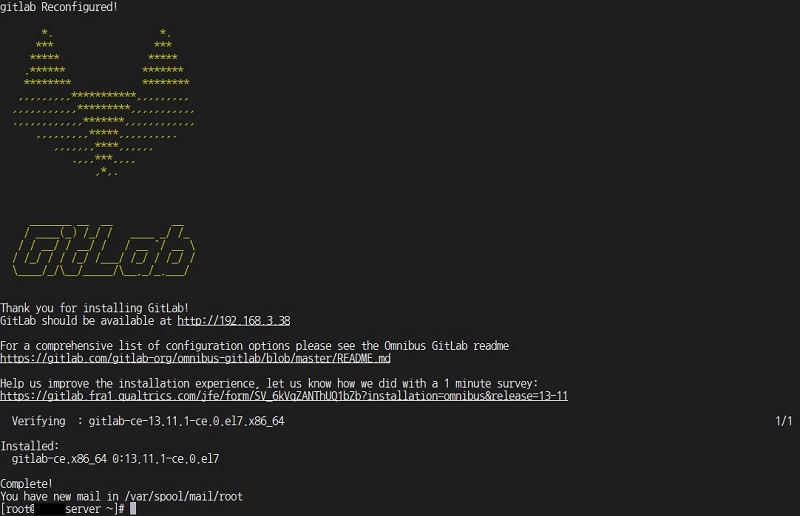
GitLab CE 13.11.1 버전 설치가 완료되었다.
설정한 URL을 브라우져로 접속하면 GitLap 화면을 확인할 수 있다.

관리자 root 의 초기암호를 설정
5. 로그인 및 프로젝트 생성
root / 암호를 입력하여 메인화면으로 접속한다.

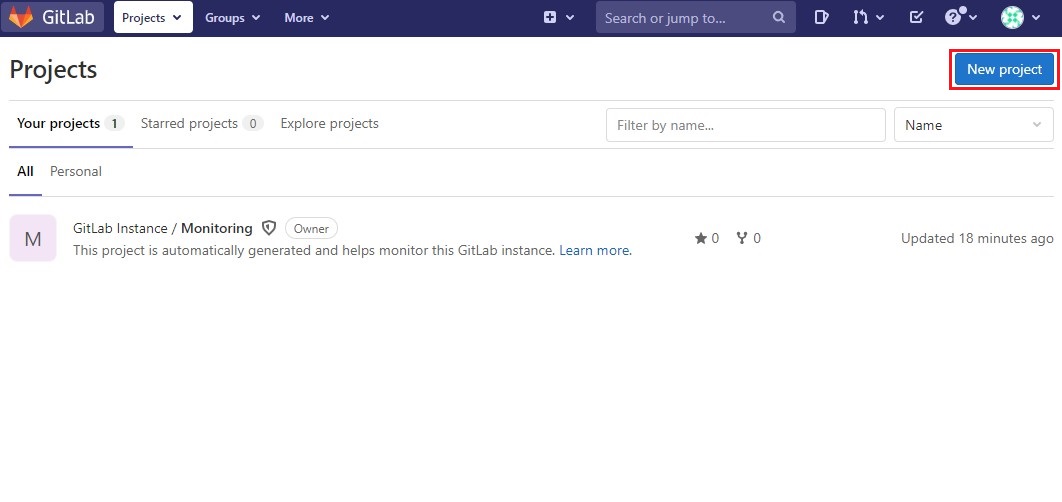
Projects 화면

New project 버튼을 클릭하여 프로젝트를 생성하자.
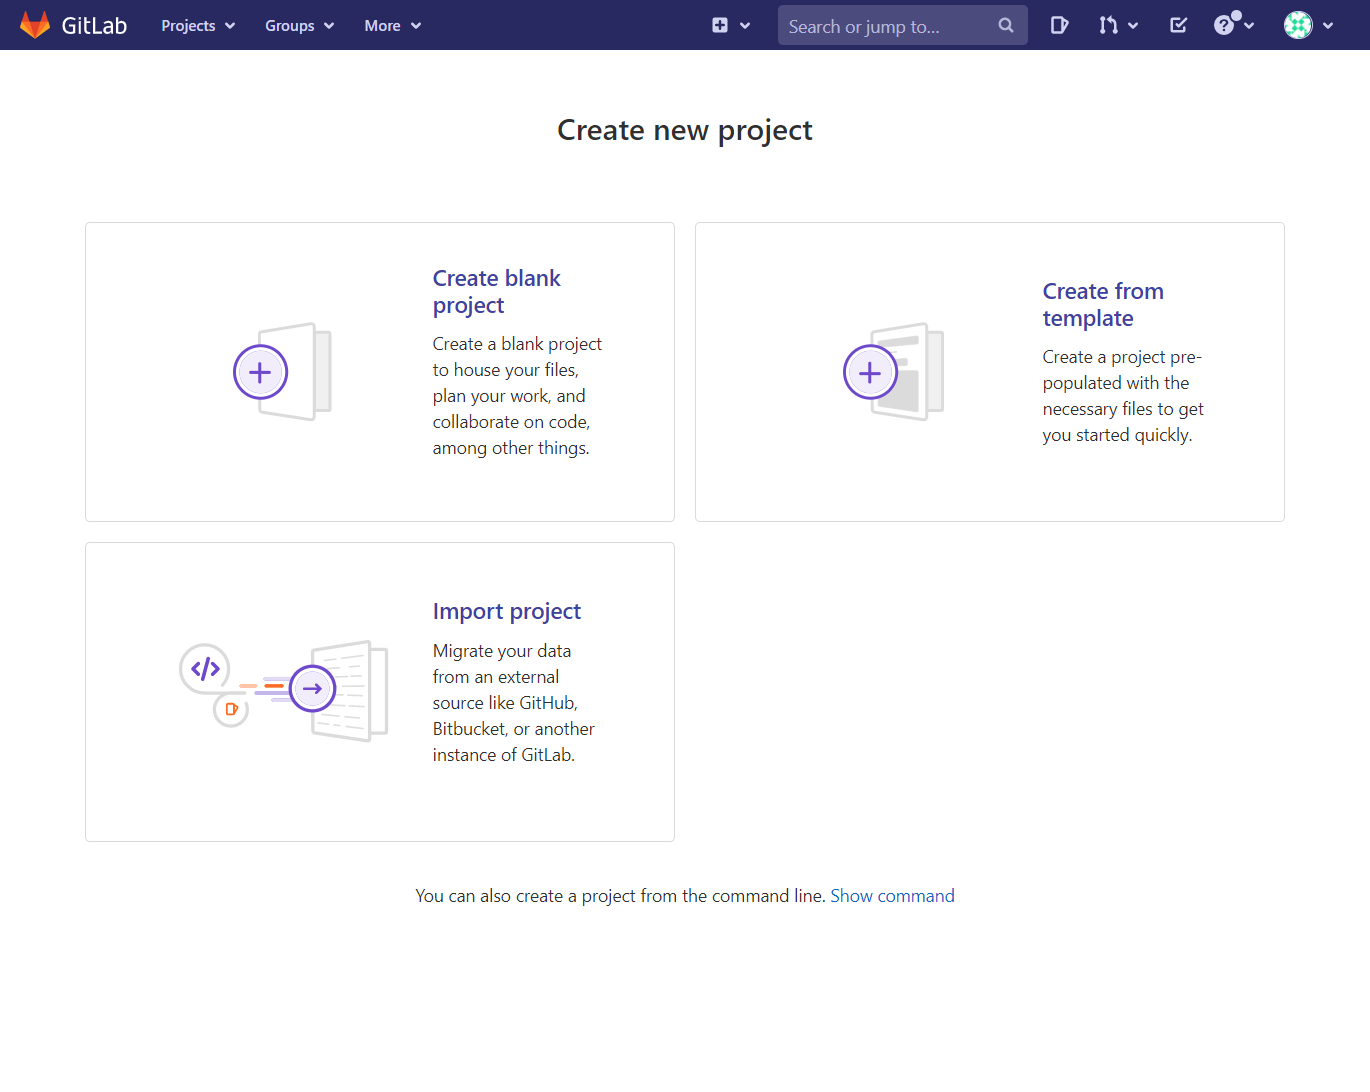
가벼운 프로젝트(?)를 생성할려고 하니 Create blank project 를 선택
Project명을 hello-project 로 지정하고 Project URL 을 확인해보니 root(관리자)로 되어 있어 그룹을 추가한 다음 프로젝트를 생성하자.
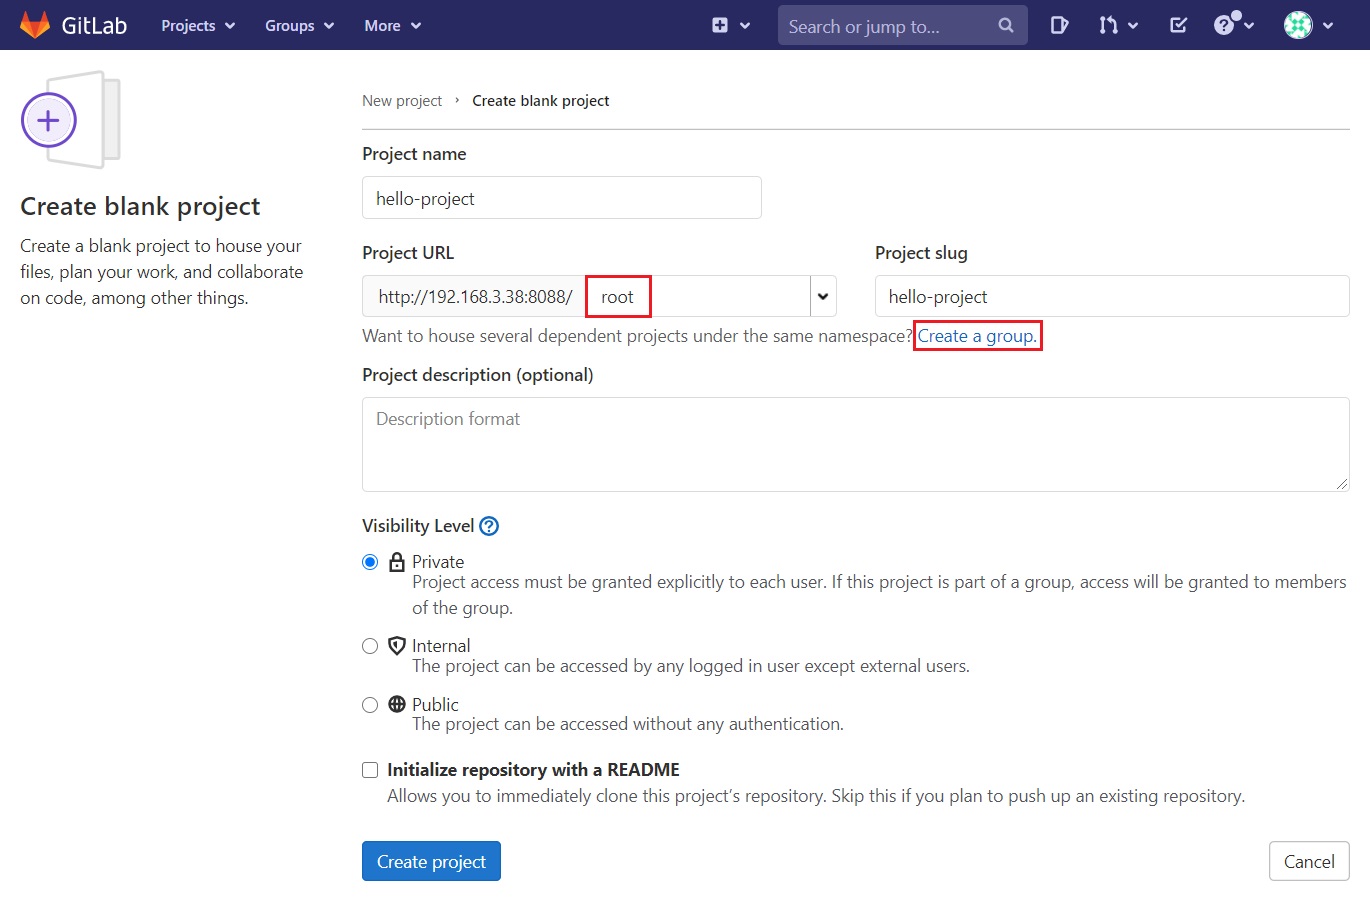
example 그룹명을 입력하고 'Create group' 버튼 클릭하여 Group 을 생성하자.
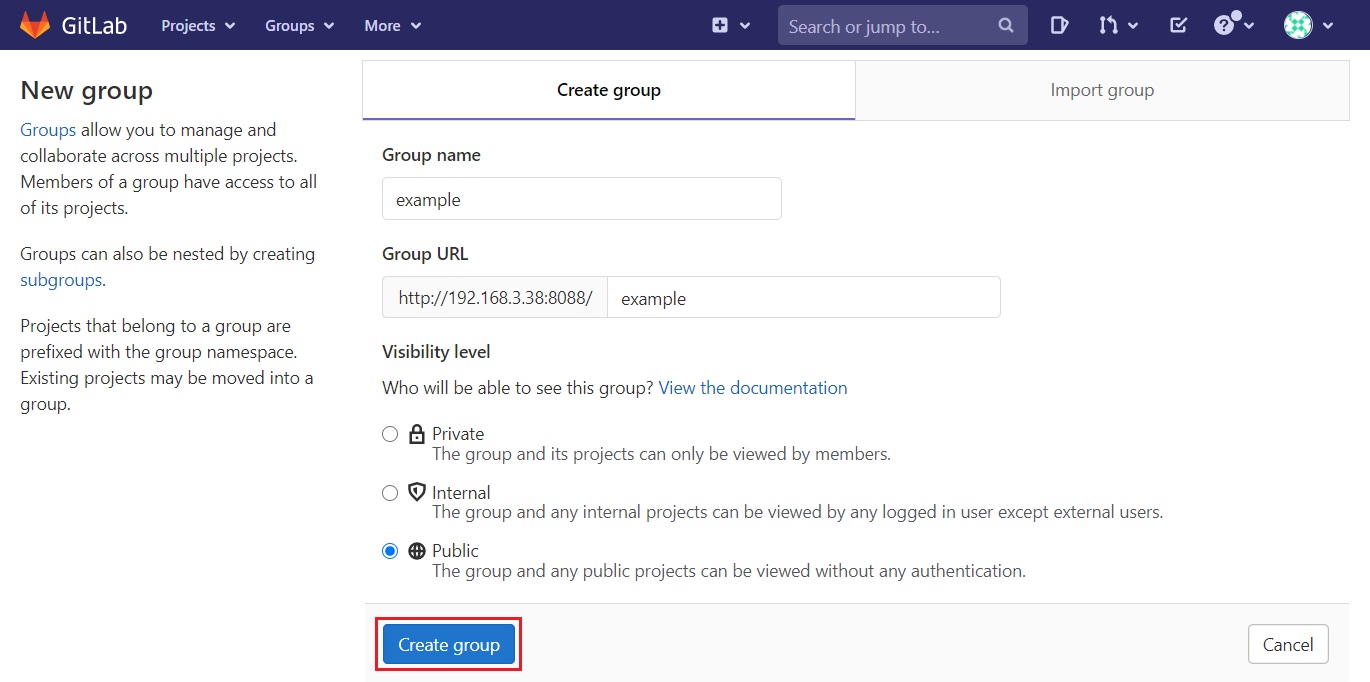
GitLab을 사용해보니 Group 개념은 프로젝트명으로 생성하여 사용하는 것이 좋을듯하다.
GitLab을 이용하여 하나의 프로젝트만 사용하는 것이 아니고 여러개의 프로젝트를 사용하며 하나의 프로젝트내에 Git 소스가 여러개 일 수 있으니 Group 개념을 잘사용해서 원할히 프로젝트를 수행하자.
Project name : hello-java, Visibility Level : public, Initialize repository with a README : 체크 후 'Create project' 버튼을 클릭하여 프로젝트를 생성하자.

example 그룹에 hello-java 프로젝트가 생성된 것을 확인할 수 있다.

6. User 생성
현재는 root-관리자로 로그인되어 있어 User 를 생성해 보도록 하자.
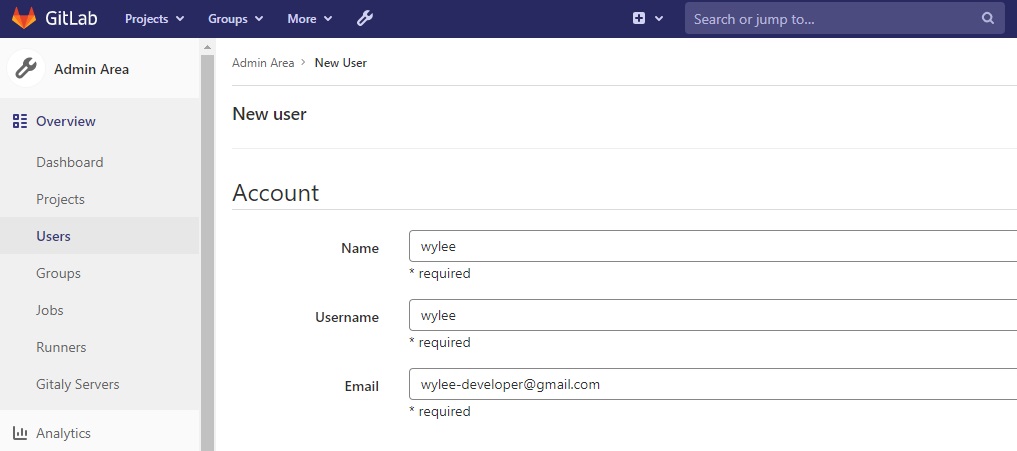
상단의 Admin Area > New user 버튼 클릭

등록할 User의 Name, Username, Email을 작성한 후 'Create user' 버튼 클릭
User 가 정상적으로 생성완료

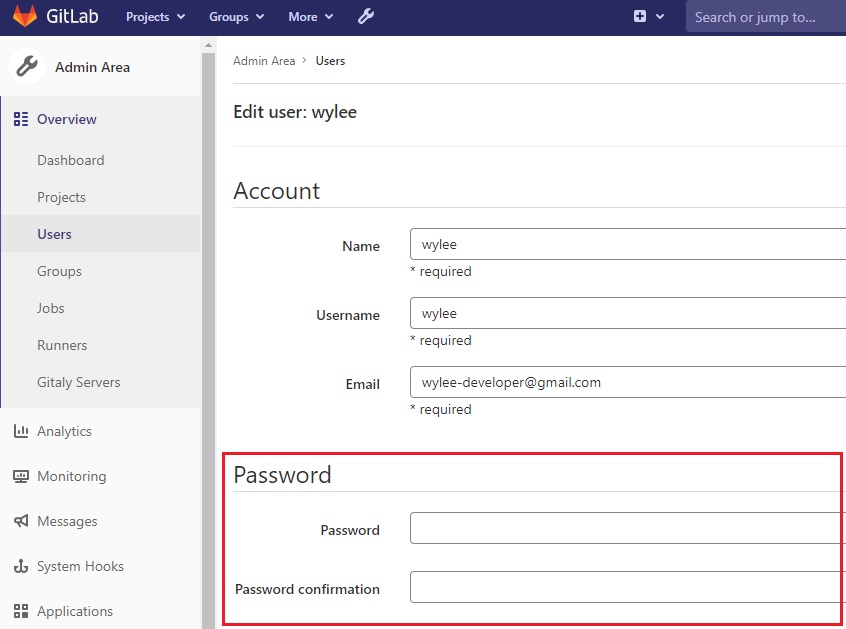
하지만 암호가 설정되어 있지 않아 해당User로 접속이 불가능할 것이다.
Admin Area > Overview > Users > 해당User > Edit > Password 를 수정해 주어야 일반User가 접속이 가능하다.
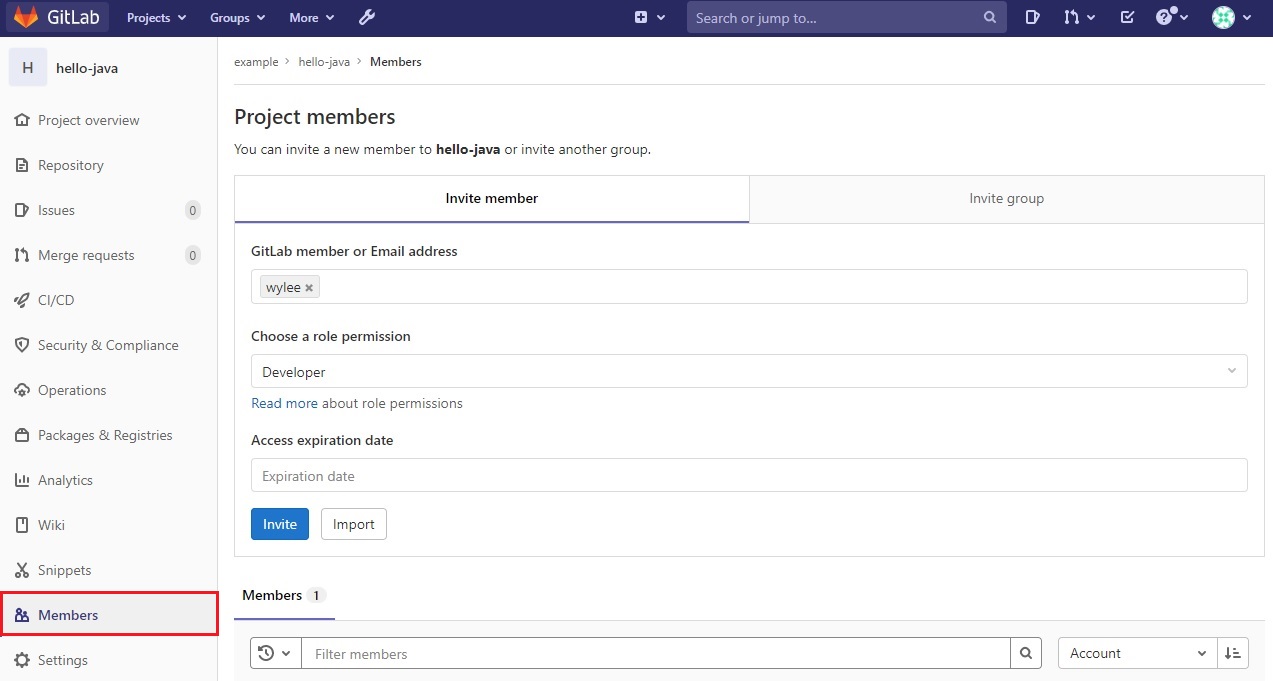
등록된 User를 해당 프로젝트(hello-java)에 멤버로 등록
7. STS/Eclipse를 이용하여 GitLap 프로젝트 연결
STS 또는 Eclipse 를 이용하여 GitLap 프로젝트를 연결해 보자.
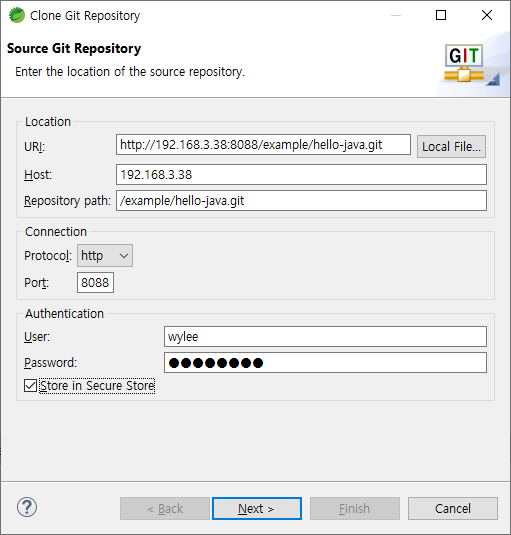
hello-java 프로젝트 > Clone > Copy URL 을 선택하여 clone 주소를 복사

STS 를 실행 후 Git Repositories View 에서 우클릭 > Clone a Git Repository

User/Password 입력
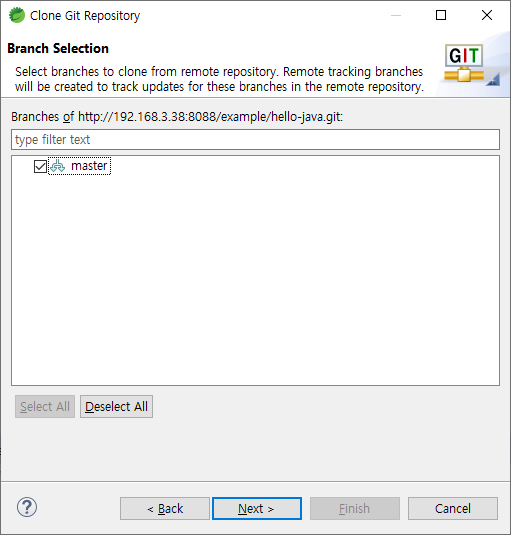
Master 브랜치 선택
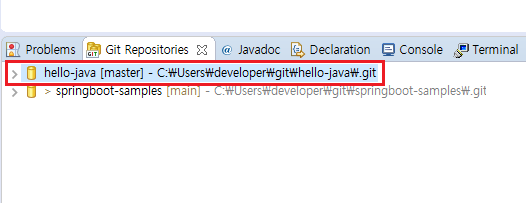
저장할 폴더를 지정 후 Finish

hello-java git 저장소가 생성된 것을 확인할 수 있다.
Import Projects 를 진행하여야 STS에서 자바개발을 진행 할 수 있다.


hello-java 프로젝트 등록완료

'개발' 카테고리의 다른 글
| [젠킨스] 윈도우 10 환경에서 접속포트 변경하는 방법 (0) | 2022.02.11 |
|---|---|
| mvn package 실행시 Source option 5 is no longer supported. Use 6 or later. 에러발생 (0) | 2022.01.07 |
| [GitLap] STS를 이용하여 Java/Maven 프로젝트 시작하기 (0) | 2021.05.16 |
| [GitLab] 윈도우 개발환경에서 SSH Key 등록하기 (0) | 2021.05.07 |
| Apache ECharts - 자바스크립트 차트 라이브러리 (0) | 2021.03.23 |


